After deciding upon the garden location, the committee can begin the design process with a layout of the area. The designated chairperson can coordinate the effort and record ideas. Committee members can research additional sources for garden ideas and visit other school gardens.
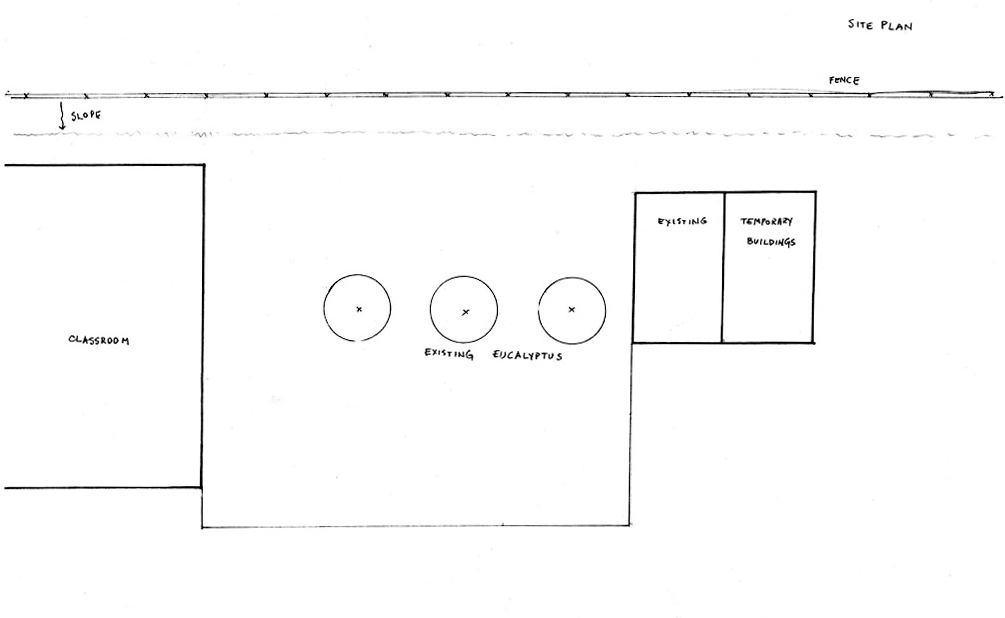
Next, we will look more closely at the criteria to use during the planning process: size, pathways, using planting beds and containers, watering systems, work benches, compost, storage, and tables and seating.
Size
For schools that have a limited amount of space for a garden, the size will be predetermined. Careful planning will ensure that every square foot is allocated for the best possible planting advantage.
At other schools the amount of space for a garden may be ample. These gardens must also be carefully planned. However, it is always good to start small. Developing your garden in several stages will help you avoid over-taxing your available time, energy, and funds. When planning the size of a garden consider and address the:
-
- Numbers of teachers and students who will use the garden.
- Requirements of special needs students, teachers, and parents.
- Kinds of plants, including permanent trees and shrubs, to be included and their space requirements.
- Number and sizes of beds and pathways.
- Space needed for a greenhouse or cold frame.
- Resources and materials available for construction and startup costs.
- The annual budget available for garden expenses.
Take each of these considerations into account as you continue to develop your garden plan.
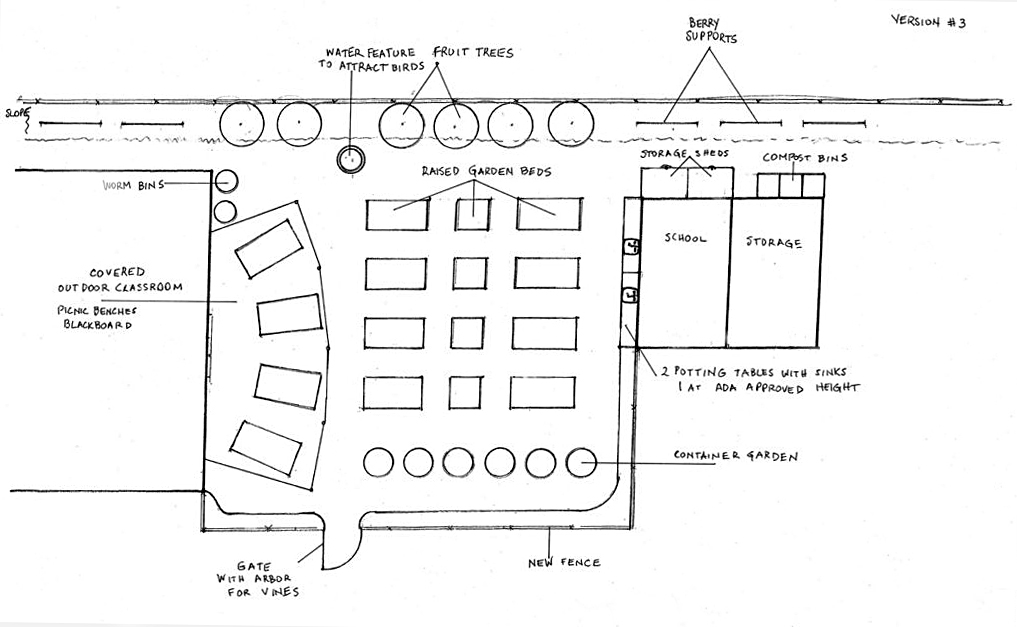
Common Spaces and Pathways
The entrance to the garden should include a large reception area where bulk materials such as mulch and compost can be unloaded. This area might also serve as an instructional space where students receive information before entering the main garden. A space twenty feet by twenty feet is ideal.
The surface on pathways may be native soil compacted to a hard density for ease of maintenance. Plain dirt has the advantage of easy weed removal but weeds sprout more abundantly and the paths become muddy during hand watering and rainy weather. Tree bark or chips are inexpensive additives to control weeds and mud, but must be replaced periodically and do not comply with Americans with Disabilities Act (A.D.A.) Guidelines. Permanent paths of decomposed granite (DG), brick, stone or concrete are more expensive, but they meet the needs of those with wheelchairs, walkers and crutches and they eliminate the need for weed and mud control.
Access to the Garden
Plan the garden so it can be easily accessed and used by children and adults with all types of physical challenges. Paths to the garden must have a firm smooth surface so those using wheelchairs, walkers or crutches may travel to the garden. Paving material should provide for good traction. A level path without steps is best. If the access route is on a slope, ramps must be graded in accordance with A.D.A. standards. If the garden is fenced, gates to the garden need to be wide enough to provide easy access and equipped with A.D.A approved latching devices. Designers can consult the school district’s facilities department for assistance with A.D.A. regulations.
Internal Pathways
School gardens typically will have large numbers of students working for short periods of time. Paths must be wide enough to accommodate the largest class, multiple classes at one time, and those with special needs. The width of pathways can also be determined by the width of the largest piece of equipment to be used in the garden. Locate paths on all sides of the beds to provide easy access and reduce the need to step into the beds.
Plan paths inside the garden wide enough to allow those in wheelchairs, on crutches or using walkers to move easily. Three feet is considered the minimum width for one way traffic. Four-foot wide paths allow wheelchairs to make ninety- degree turns without backing-up. Five-foot-wide paths will allow wheelchairs to make one-hundred-eighty-degree turns without backing up. Curved designs make paths easier to use. Edge guides help keep wheelchairs, canes and walkers from going off the paths.
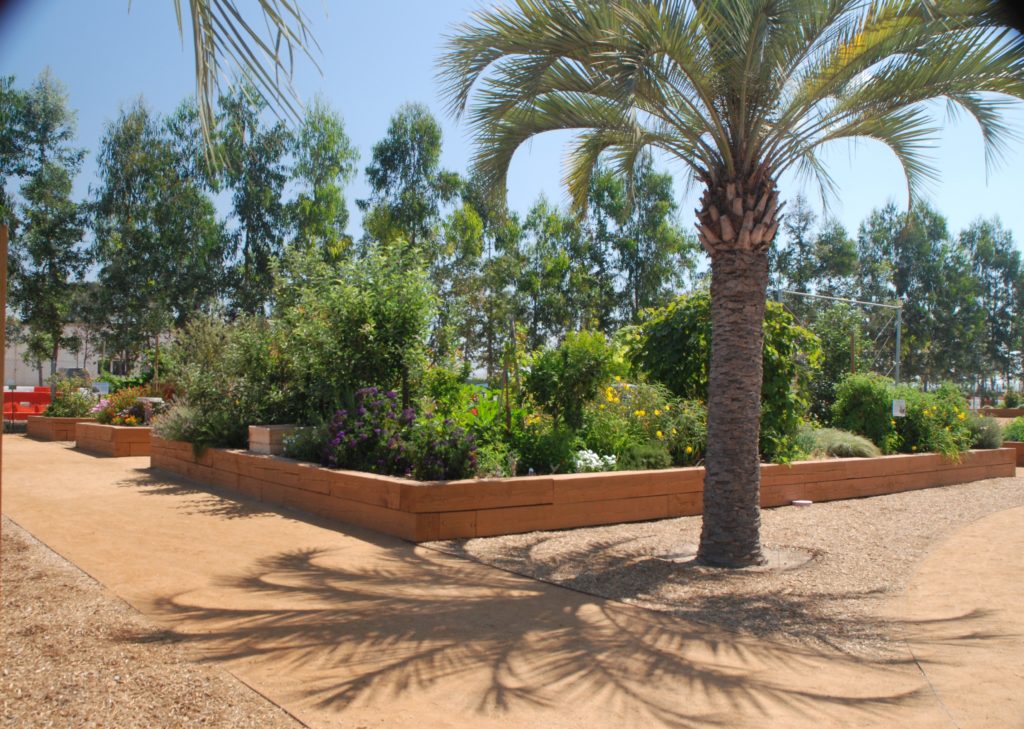
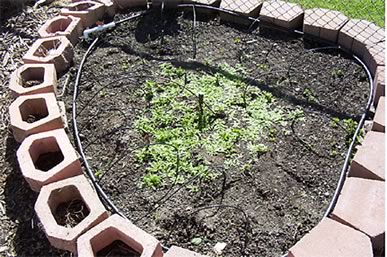
Planting Beds
There are several ways to design garden beds. They can be beds of mounded soil or have sides made of word or block. Two advantages of raised beds are the opportunity to incorporate bench seating in the design and fewer problems with rabbits or gophers if wire mesh is placed at the bottom of the bed.
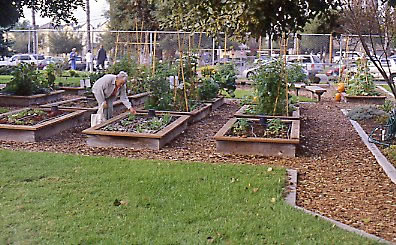
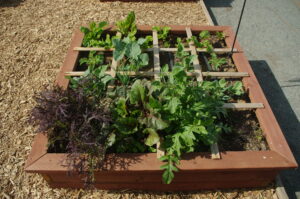
Limit the actual bed width to between 3 and 4 feet. The objective is to be able to reach comfortably into the bed’s middle from either side. If the beds are too wide the soil will become compacted when it is stepped on for maintenance or harvesting. They can also be difficult for those with special needs to access plants in the center. Garden beds may be any convenient length. A popular length is 8 feet, but they can be any length you want. If each classroom is to be assigned its own garden plot, divide the space accordingly. A 4 x 4-foot square bed is great for square foot gardening. A triangular bed may make the best use of an out-of-the-way corner. An arc-shaped bed of herbs, flowers or salad greens makes an attractive mini-garden.
Run rectangular beds so plants receive full sun most of the day. You will want to have the rows run north and south so every row receives the same sunlight exposure during the day. This is especially important during the winter, when the angle of the sun is low, to keep taller crops from shading smaller plants. Tall plants can be planted at the north end of the rows.
For access from a wheelchair the optimum bed height should be twenty-four inches. To avoid awkward reaching keep the beds narrow. Twenty-four inches from the edge of the pathway to the center of the bed is the maximum reach distance for older and taller children. Specialized tools to extend a person’s reach are available; however, young children may have difficulty manipulating these tools.
Containers
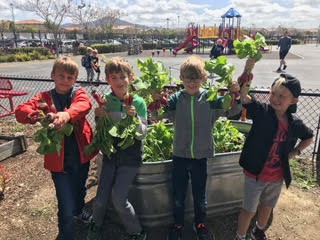
Containers make good use of limited space. Large plastic or ceramic pots, half wine barrels, wood planter boxes and new galvanized metal horse troughs are often used as containers in school gardens. When filled with good, commercial planting mix, containers make excellent growing spaces. Containers should not be filled with garden soil since it does not drain well, stays too wet, and is very heavy. Check to see that the container has holes in the bottom for drainage. Give special consideration to the location you select for containers. Be mindful that plants will be more sensitive to temperature extremes and you may need to provide protection from wind. Direct sun on the side of a metal or dark plastic container can heat the adjacent potting mix enough to kill small roots. For special needs students, you can place containers on benches so they can easily be reached from a wheelchair.
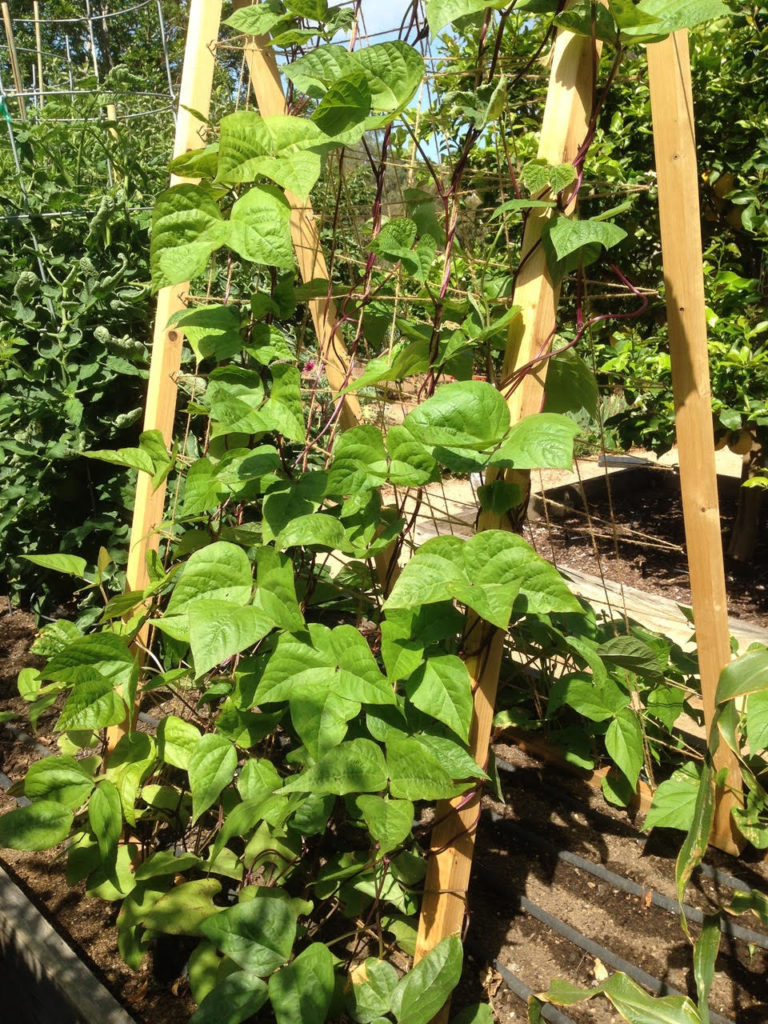
Vertical Growing Spaces
Trellises, fences, tepees, wire mesh frames, netting on frames and circular wire enclosures make good structures to support vining fruits, and flowers to maximize the use of limited growing areas. They also provide easy access for physically challenged persons.
Sun Exposure
The relationship of the sun to the garden beds is important to consider when designing the garden. Remember that most vegetables and flowers need at least 6 hours of direct sun daily to grow well. Note morning and afternoon sun and shade patterns at times during summer and winter. Determine if nearby buildings or trees will shade the plots, especially in winter when the sun’s arc is low in the sky.
Watering Systems
Easy access to potable running water is essential. This can be as simple as a single faucet and hose located in a convenient spot. Consider those with special needs when deciding where to place faucets. Teachers may prefer to teach watering methods using watering cans or hoses to give students experience on how much and how often to water plants to keep them healthy and productive. Children find hand-watering of plants particularly enjoyable. However, gardens may lack water during weekends, holidays, and vacations. Automated systems can assist the teachers to irrigate plantings when students are not available.
Starting seeds can be more successful with an automatic system that turns on several times per day during the germination period. Investigate both sprinklers and drip systems. Sprinklers have the advantage of being more permanent, but will probably use more water. Drip irrigation will provide a more flexible system that can easily be removed from the planting beds and reinstalled to fit different types of planting designs. A drip system may also support teaching water conservation methods.
If you plan to use an automated system, consult with an irrigation specialist. Contact a parent volunteer knowledgeable in irrigation systems, or a local irrigation supply dealer to design and/or install the system. Free booklets describing irrigation system components are available from manufacturers and local retailers.